How can I automate my ZetaStar™ experiments for high-throughput measurements?

Introduction
Automation of experiments can help enhance the throughput and improve the sample-to-sample consistency of experiments. With the HPLC CONNECT™ 4 software, the DYNAMICS™ software can be used to simplify control of the Waters™ Arc HPLC for sample injection into the DynaPro™ ZetaStar instrument flow cell. Experiments can be smoothly set up and run using the new Experiment Designer in DYNAMICS 8.3, enabling automated dynamic light scattering (DLS) and electrophoretic light scattering (ELS) measurements of hydrodynamic radius and zeta potential, respectively. Setting up automated measurements with your ZetaStar instrument is simple and straightforward.
Setting Up ZetaStar
Automation in DYNAMICS with
HPLC CONNECT 4
The DYNAMICS software makes running multiple injections with your Waters™ Arc™ HPLC effortless by providing a simple way to set up automated experiments with presets. ZetaStar automation can be enabled with the HPLC CONNECT 4 software and DYNAMICS 8.3.1 software (or higher).
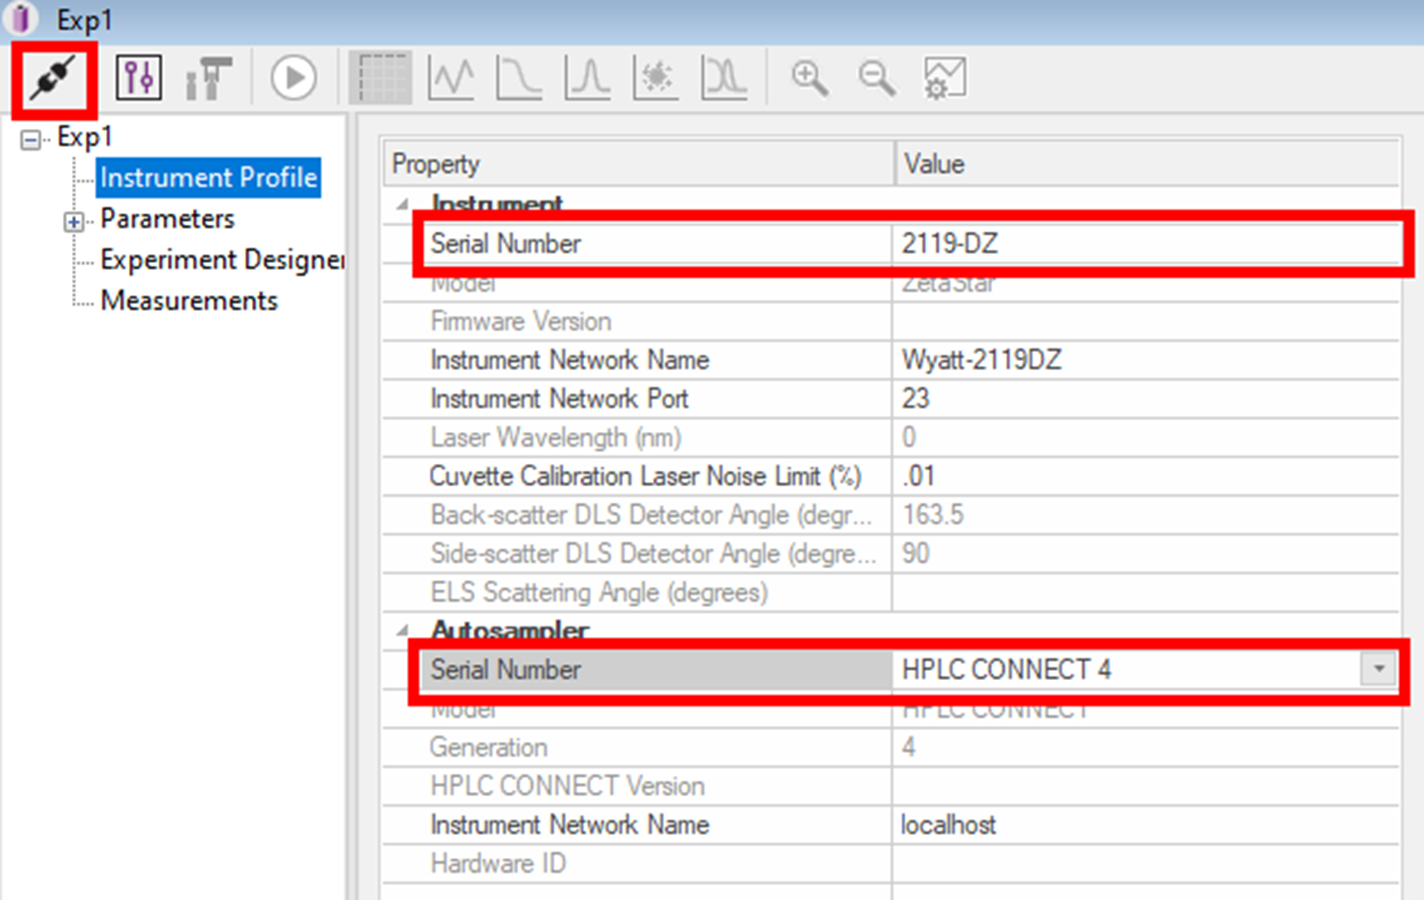
With the DYNAMICS and HPLC CONNECT 4 software configured for your instruments, open the HPLC CONNECT 4 preset via File | New from Preset and selecting the preset titled “ZetaStar – 11_HPLC CONNECT 4_Waters Arc HPLC.dpst8”, this preset will have predefined values which are good starting points for your first automation experiment. You will want to ensure that the Instrument Profile is set up for HPLC CONNECT 4 and your ZetaStar instrument (as shown in the figure). This will enable the Experiment Designer in the experiment tree. Click the Connect to Instrument button in the upper-left corner of DYNAMICS to connect to your instruments.
Using the ZetaStar Experiment
Designer for Automated ELS
and DLS Measurements
The ZetaStar Experiment Designer can be used to quickly set up an automation experiment by selecting the vials you wish to inject samples from and choosing the conditions of your measurements. In the Experiment Designer node of the DYNAMICS experiment tree, click Edit Experiment to modify the conditions and vial selections of your automation experiment.
In the first section of the Experiment Designer, select the Experiment Type: either Zeta Potential & Size or Size then Zeta Potential & Size. Size measurements only perform DLS measurements, while Zeta Potential & Size measurements will perform both DLS and ELS measurements simultaneously. Particularly with new samples, it can be useful to perform Size then Zeta Potential & Size to obtain measurements before an electric field is applied and while an electric field is applied. This data can be used to establish if the sample is changing or degrading under an applied electric field.
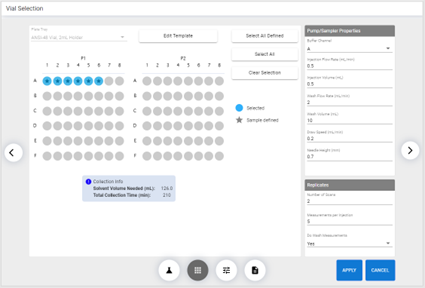
In the next section, input Vial Selection: the vials which you will be injecting sample from for automated measurements. By clicking Edit Template, the Plate Template Editor will open to modify information that will be applied to particular vials, including Sample Name, Ionic Strength, Zeta Potential model, and more (including user-defined parameters). Additionally, this template can be exported and imported to streamline setup of future automation experiments. Also in this section, you can designate Pump/Sampler Properties and information regarding Replicates. When the vials have been selected and pump/sampler properties as well as replicate information have been edited, the estimated Solvent Volume Needed and Total Collection Time will update to reflect these changes.
The next section, Experiment Parameters, is where you can edit parameters related to how DLS (Size) and ELS (Zeta Potential) measurements will be collected. Temperature stabilization can also be designated to ensure temperature stability before data collection. Finally, a measurement labeling scheme can be configured which will automatically name measurements as data is collected.
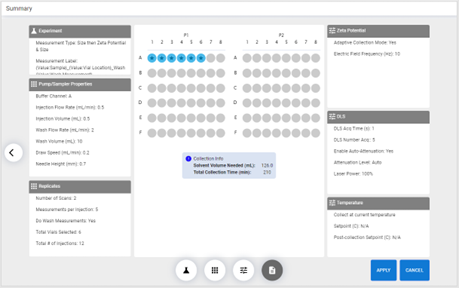
The final section provides a Summary of the previous sections in one view. When complete, select Apply to save these changes. This experiment is now ready to run!
Best Practices for
ZetaStar Automation
Experiments
The following recommendations are great practices to ensure success with your automated DLS and ELS experiments with your ZetaStar instrument. To ensure that the sample fully flushes the ZetaStar flow cell, an Injection Volume of at least 0.5 mL is recommended. Similarly, it is very important the sample is fully cleared from the flow cell prior to injecting the next sample; therefore, a minimum of 5-10 mL of solvent is recommended as the Wash Volume.
The maximum recommended Draw Speed for aqueous samples is 0.23 mL/min. A faster draw speed may cause cavitation and draw air into the needle. Consider using even slower draw speeds for more viscous samples. When using total recovery vials, a minimum Needle Height of 0.7 mm should be used. When using regular flat bottom vials, a needle height as low as 0.1 mm can be used. To minimize dilution effects, a 500 psi back pressure regulator must be installed after the ZetaStar flow cell to ensure flow is properly stopped during measurement. This pressurization will additionally prevent interference from bubbles and allow measurements in high-salt buffers (where electrolysis would otherwise occur).
Conclusion
ZetaStar automation support with a Waters Arc HPLC (Quaternary Solvent Manager, QSM-R and Flow Through Needle Sampler Manager, FTN-R) via HPLC CONNECT 4 is only available in DYNAMICS 8.3.1.0 and higher with HPLC CONNECT 4 and higher. ZetaStar automation additionally requires that a 500 µL syringe and 1 mL sample loop assembly are installed. For more details see the DYNAMICS 8 Software User’s Guide or the DynaPro ZetaStar Instrument User’s Guide, respectively.
Do you have a question? Contact our experts here in Customer Support. We’re happy to help! Call +1 (805) 681-9009 option 4.


